In the vast world of Minecraft, there’s a staggering variety of in-game items and abilities to explore. From numerous biomes and enchantments to a range of unique potions, players have a wealth of options at their fingertips. Amidst these possibilities, the Minecraft beacon often flies under the radar despite being a powerhouse tool.
However, its potential is often overlooked, possibly due to its challenging crafting recipe. But fear not! We’re here to walk you through everything you need to know about beacons along with how you can use beacons in both Minecraft Bedrock and Java editions. Let’s break down the process of crafting and making the most of a beacon in your Minecraft adventures.
Crafting a beacon in Minecraft is kind of like following a recipe. We’ve made things easy by breaking down our guide into different sections. Just check out the table below to find what you’re looking for.
Table of Contents
What’s the Buzz with Beacons in Minecraft?
Okay, so in simple Minecraft talk, a beacon is your go-to light source, but it’s not your average flashlight. Your first meetup with it usually happens in The End, where it’s the secret sauce that heals up the tough Ender Dragon.
When you turn on a beacon, it hands out some nifty effects to everyone hanging out nearby. We’re talking jump boost, speed, regeneration, haste, strength, and resistance. These perks can really amp up your boss battles and make multiplayer games amazing, adding a ton of excitement and teamwork to your Minecraft journey.
Read: 12 Best Minecraft Seeds to Explore This Week
Gathering things for a Beacon
Crafting a beacon in Minecraft isn’t a walk in the park, unlike putting together a boat. To whip up a beacon, here’s the lowdown on what you’ll need:
- 5 glass blocks
- 3 obsidian blocks
- 1 Nether star
Bagging Glass Blocks
Getting your hands on glass blocks can be a bit tricky. There are two ways to do it:
The Hard Way: Hunt down, smash, and gather glass blocks using a tool juiced up with the Silk Touch enchantment.
The Easy Way: Follow these steps to whip up some glass in Minecraft:
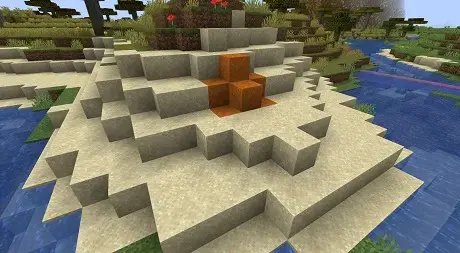
- Grab a bunch of sand blocks. They break easily, and you can even snag red sand blocks instead of the regular ones. You’re gonna need 5 of these for our recipe.
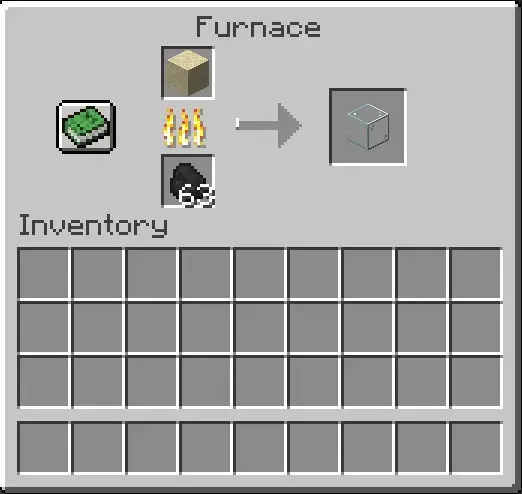
- Toss those sand blocks into the furnace. Stick them in with some fuel, and voila! In a jiffy, your sand turns into glass.
If you’re feeling lazy or just lucky, you can also splash some emeralds around with villagers. Some of them are pretty generous, handing out 4 glass blocks for a single emerald. Of course, you’ll need to find the right village with the right deals and gigs.
Bagging Obsidian Blocks
Grabbing obsidian in Minecraft is no cakewalk. But fear not, we’ve got the rundown on how to snag this elusive block:
Gear Up with a Diamond Pickaxe:
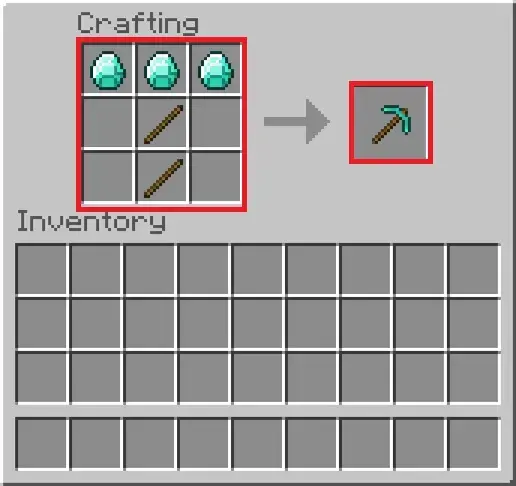
Before diving into the obsidian hunt, you’ll need a diamond pickaxe. To whip one up, combine 3 diamonds with 2 sticks at your crafting table.
Create an Iron Bucket:
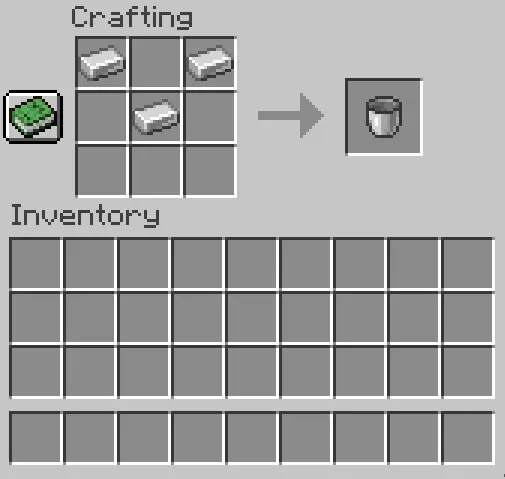
Get your hands on an iron bucket by crafting it with 3 iron blocks. This nifty tool is your ticket to making obsidian creation a breeze.
Hunt for Water Sources and Lava:
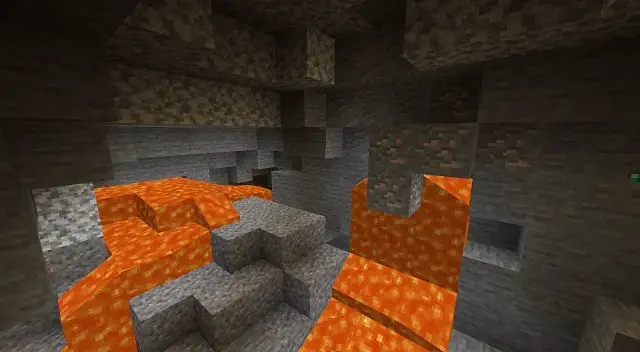
Scour the land for water and lava. Water is usually easier to spot, so focus on finding that lava first. It’s often lurking underground or masquerading as a lavafall on the surface.
Lava-Water:
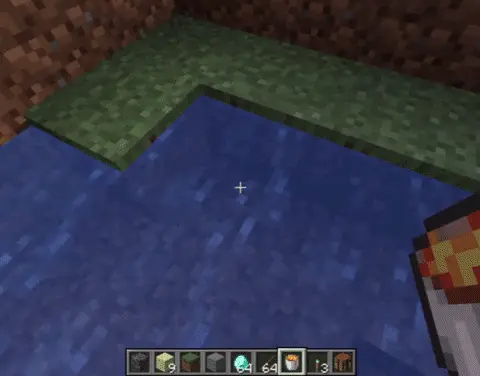
Now, with your bucket in hand, right-click to scoop the lava. Go over to the water source and, with another right-click, drop that into the water. You can speed things up by repeating this with multiple buckets. Now, all that’s left is to mine those precious obsidian blocks, and that diamond pickaxe of yours is about to earn its keep.
Read: 13 Cool Things to Build in Minecraft When You’re Bored
Bagging a Nether Star: A Wither’s Tale
Getting your hands on a nether star in Minecraft is a bit like chasing a rare Pokémon. Here’s the lowdown on summoning and conquering the elusive Wither to snag that star:
Gather the Crew:
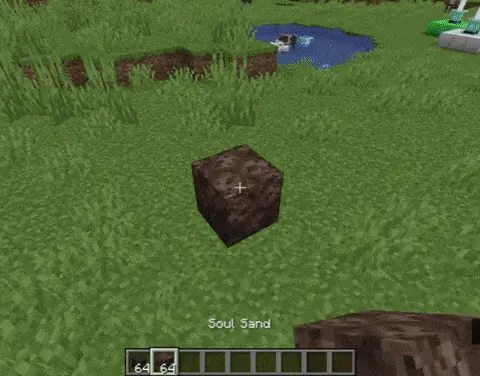
To kick off the Wither work, you’ll need 4 soul sand or soul soil blocks and 3 Wither skeleton skulls. These goodies are exclusively found in the Nether, so buckle up for a trip.
Nether Portal Magic:
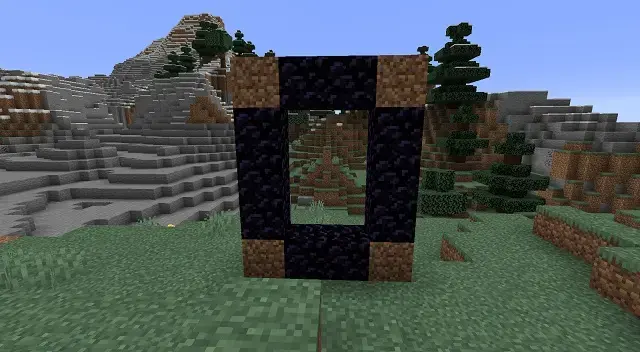
Strategically place obsidian blocks in a specific format to craft a Nether portal. Once it’s set up, ignite the portal with a little “flint & steel” magic.
Nether Expedition:
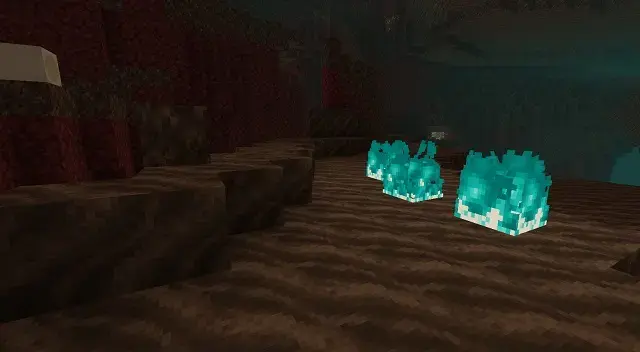
Head into the Nether and keep an eye out for soul sand or soul soil. Follow the beacon of blue soul fire; it’s a dead giveaway. Treat these blocks like dirt and mine away. You’ll need 4 of them to summon the Wither.
Fortress Hunt:
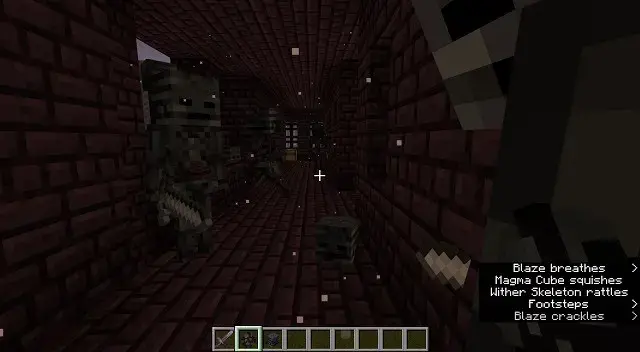
Locate a Nether fortress; it’s Wither Skeleton central. These skeletons have the lowdown on Wither skeleton skulls. Get ready for some combat, but be warned – not every Wither Skeleton drops a skull.
Summon the Beast:
Armed with 4 soul sand or soul soil blocks and 3 Wither skeleton skulls, it’s showtime. Summon the Wither, a formidable beast with flight skills and a mean punch. Pro tip: gear up with the best bow enchantments before facing this beast. It might take a couple of tries for beginners, but once the Wither bites the dust, it leaves behind that precious Nether Star.
Crafting Your Minecraft Beacon Magic
Alright, you’ve gathered the goods, and now it’s time to whip up a beacon in Minecraft. But hang tight, because activating and leveling this up is a whole other adventure.
For the crafting bit, open up ccrafting table. Fill the bottom row with 3 obsidian blocks. Now, pop the Nether Star right in the middle. Finish it off by placing glass blocks in the top row and on each side of the Nether Star. Boom! Your very own beacon in Minecraft is ready to roll.
Moving the Beacon: Break and Collect
So, you’ve placed your beacon, but what if you want to move it? To break it, any in-game tool will do the trick. Be warned, though – breaking it causes a bit of a bang. Some crafty players use TNT for a controlled explosion, turning the beacon into a handy item without too much risk.
Activating the Beacon: Shedding Light on the Matter
Now, onto the real challenge – activating the beacon. Here’s the lowdown:
Clear Sky Access:
Make sure your beacon isn’t hiding under any blocks. It needs a clear shot at the sky. Transparent blocks like glass won’t mess with it though.
Build a Pyramid:
Your Minecraft beacon craves elevation. It only works its magic when perched on top of a pyramid structure. The height of your pyramid determines the power levels of the beacon.
So, yeah, the crafting was a breeze compared to this part. But trust me, the beacon’s light show is worth the effort. Now, let’s dive into the intriguing world of beacon pyramids and unravel their secrets.
Deciphering Minecraft’s Beacon Pyramids
Alright, let’s unravel the mystery of beacon pyramids in Minecraft. So, as the name hints, these are structures with multiple levels, each going higher and higher. The catch? The more levels, the more power and coverage you get. But beware, missing blocks mean your beacon takes an unexpected nap.
Types of Pyramids
Now, these pyramids are either categorized by the block used or their size. Forget the block; it’s the size that really amps up your power boosts. We’re talking small ones with 9 blocks and big ones with a whopping 164 blocks.
Level 1 Beacon Pyramid:
The starter pyramid is a modest one-floor affair – a 3 x 3 square of 9 blocks. Put your beacon in the center, and you’ve got haste and speed boosts. Speed makes you zip around, and haste lets you mine like there’s no tomorrow. To craft this, you’ll need 81 of the material (e.g., iron ingots for iron blocks). Effects cover a 20-block radius.
Level 2 Beacon Pyramid:
Next up, a two-floor wonder with a 3 x 3 square on top and a 5 x 5 square below. 34 blocks, 304 materials. Now, you’re leaping higher with jump boost and standing strong with resistance. Useful for evading mobs and winning fights. Boosts stretch over 30 blocks.
Level 3 Beacon Pyramid:
Now, we’re talking a grand three-floor structure, a 3 x 3 square on top, 5 x 5 in the middle, and a vast 7 x 7 at the bottom. A hefty 83 material blocks, made from 747 materials. Strength boost joins the party, amping up your hits. Range expands to 40 blocks.
Level 4 Beacon Pyramid:
The pinnacle – a colossal 164 blocks made from a jaw-dropping 1476 materials. A regeneration II boost, bringing your health back faster, spans a 50-block radius. Bottom level is a massive 9 x 9 square, with layers stacking up in decreasing size. A time-consuming masterpiece in survival Minecraft.
Beacon Types by Material
Now, here’s the twist. You can craft these pyramids with different materials like iron, emerald, gold, netherite blocks or diamond. It’s more of an aesthetic choice for players. Let your creativity run wild – experiment and build the beacon pyramid that suits your style in Minecraft.
Mastering Minecraft Beacons: Unleashing the Power
So, you’ve crafted a amazing beacon pyramid in Minecraft, but what’s next? Time to tap into the perks it offers. Let’s dive into the features and discover how to effectively use a Minecraft beacon.
Activating the Power
You’ve built your beacon pyramid, and now it’s time to activate those awesome powers. Here’s the drill:
Approach and Right-Click:
Get close to your beacon and right-click or use the secondary action button.
Power Menu Unveiled:
Behold the beacon’s power menu. On the left, you’ve got the primary powers scaling up with each level. On the right, there’s the secondary power, regeneration, exclusive to a level 4 pyramid.
Choose Your Boosts:
Now, you’re the commander of these powers. Choose between activating one primary power at a boosted level or keeping them at level 1 while throwing in some regeneration. Click on the powers you want to activate.
Powering Up:
Time to feed the beacon. Toss in an iron ingot, emerald, diamond, gold ingot or netherite ingot into the block below the power columns. Click the green tick mark to fire up the boosts. Wanna switch things up? Feed different powers separately.
Unleashing the Colors
The beacon beam isn’t just for show; it can guide you home or just add some flair. Customize it:
Change Beam Color:
On top of the beacon, Place glass panes or stained glass to alter the beam’s color. Match it with the glass, and voila! Want a mix? Layer different colored stained glass for a unique blend.
Nifty Nether Beams:
The beam works its magic even in the Nether, slicing through bedrock. But throw a non-transparent block in its path, and it’s game over. Java edition beams shine from 1342 blocks away, but Bedrock edition maxes out at 64 blocks. Follow it vertically, and it stretches towards the upper world edge at 1048 blocks high.

